How to Make Ice Cream in a Bag: A Fun & Easy 5-Minute Science Treat!
Ever made ice cream in a bag? It’s the kind of DIY dessert magic that turns science into a sweet treat — no fancy equipment, no ice cream maker, just a few zip-top bags, ice, and pantry staples. Perfect for curious kids and nostalgic adults alike, this hands-on method lets you shake your way to creamy, homemade ice cream in under 15 minutes.
Whether you’re planning a fun weekend activity with the family, teaching a cool kitchen science experiment, or just craving a quick dessert fix, making ice cream in a bag hits that sweet spot of being both entertaining and rewarding. It’s also a genius way to get the kids involved and excited about creating something delicious from scratch.
In this guide, we’ll break down everything you need to know: the easy ingredients, the step-by-step process, how rock salt ice cream works, and some tasty mix-in ideas to customize your batch. Ready to shake things up and chill out with your own homemade frozen treat? Let’s get started!
Table of Contents
What Is Ice Cream in a Bag?
Ice cream in a bag is a fun, hands-on method of making homemade ice cream without any machines. Instead of relying on an electric churner, this approach uses science — specifically, freezing point depression — to turn a creamy mixture into a frozen dessert through simple shaking.
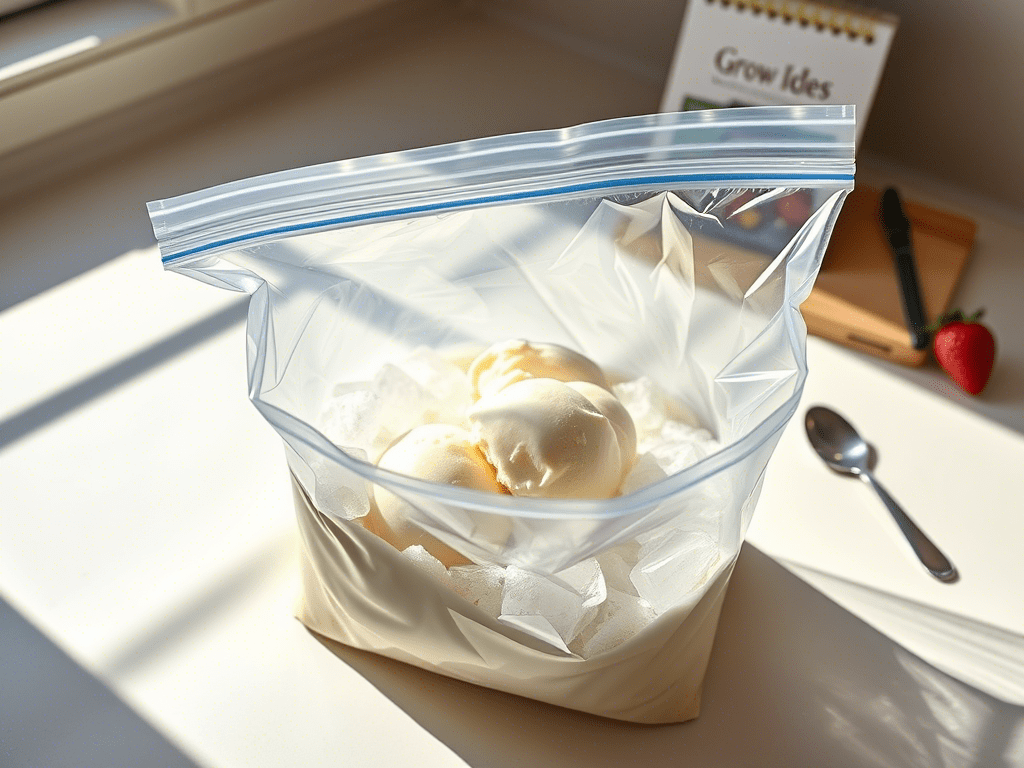
The concept is simple but brilliant: you place a mixture of milk, cream, sugar, and vanilla in a small zip-top bag. That bag goes into a larger bag filled with ice and rock salt. Then, you shake the whole thing until the inside bag freezes into smooth, scoopable ice cream. It’s part recipe, part experiment — and 100% satisfying.
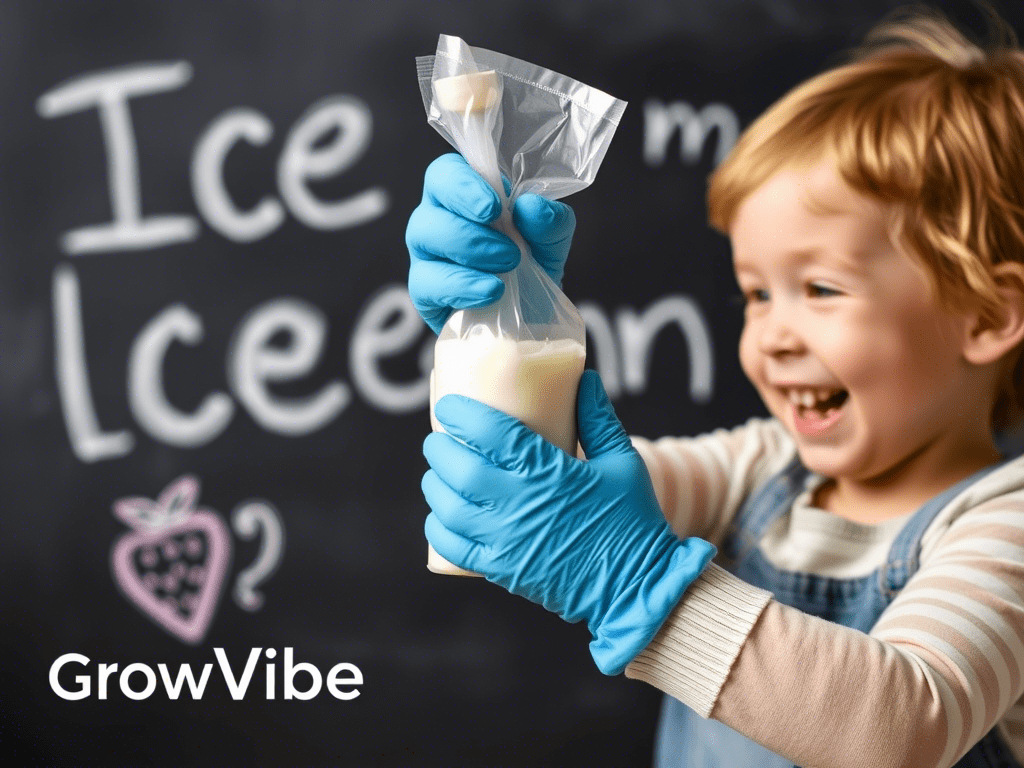
Not only is this method fun and mess-free, but it’s also a great ice cream experiment for kids and curious adults. You’ll get a tasty treat and learn a little science along the way. Plus, it’s an excellent party activity or weekend project, giving everyone a chance to customize their own ice cream flavor and consistency.
Want mint chocolate chip? Add a few drops of extract and some chips. Craving strawberry? Stir in some strawberry puree. This approach is as flexible as it is fascinating.
How to Make Ice Cream in a Bag (Step-by-Step)
Making ice cream in a bag is as simple as it is satisfying. Here’s a clear, step-by-step guide to get creamy, dreamy results in under 15 minutes — no fancy equipment needed.

Ingredients:
- 1 cup heavy cream (or half-and-half for a lighter version)
- 2 tablespoons sugar
- ½ teaspoon pure vanilla extract
- Ice (enough to fill half of a large bag)
- ⅓ cup rock salt
- 1 small zip-top bag (quart-size)
- 1 large zip-top bag (gallon-size)
Instructions:
- Mix the Base
Pour the cream, sugar, and vanilla into the small zip-top bag. Seal it tightly, removing as much air as possible. - Prepare the Ice Bath
Fill the large bag halfway with ice and sprinkle in the rock salt. The salt lowers the freezing point of the ice, helping your mixture chill and firm up faster. - Bag It Up
Place the smaller bag into the larger one, nestling it in the ice. Seal the large bag securely. - Shake It Like You Mean It
Shake vigorously for 7 to 10 minutes. Be prepared — it’s going to get cold, so wrap the bag in a towel or wear oven mitts. - Check and Serve
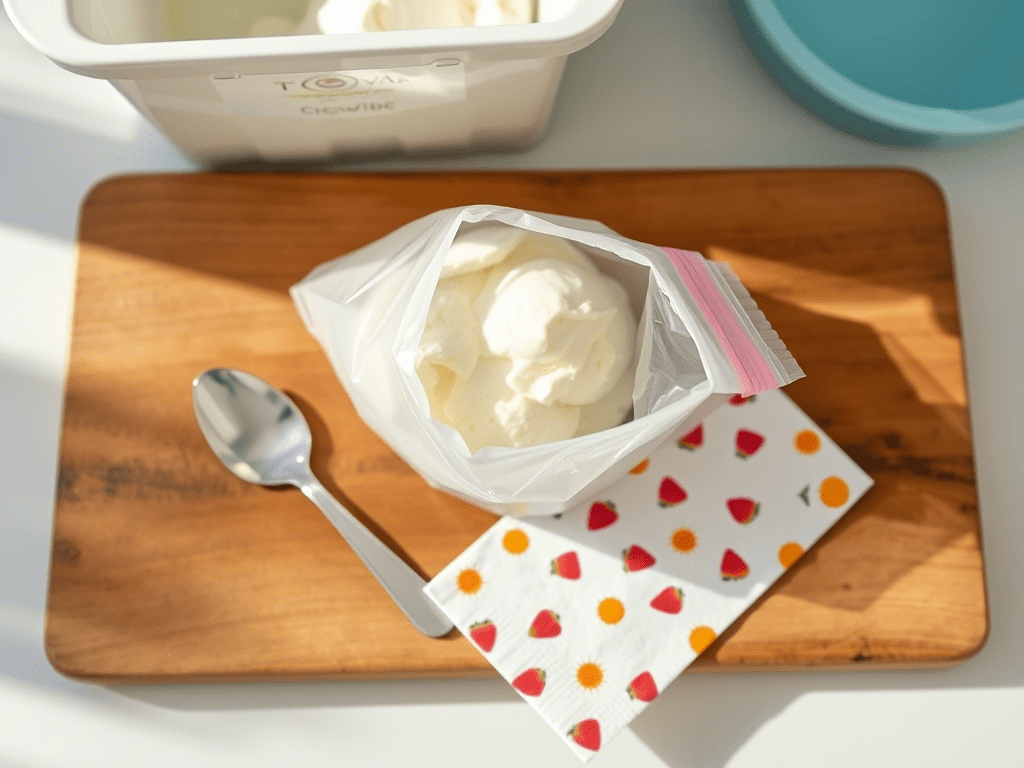
Once the mixture firms up, remove the small bag and rinse off the salty water. Open, scoop, and enjoy your ice cream in a bag right away or pop it in the freezer for later.
It’s a mini science lab and dessert station rolled into one. And the best part? You can repeat the process with endless flavor twists and mix-ins!
The Ice Cream in a Bag Experiment (Fun for All Ages)
Ever wondered why shaking ice, salt, and cream together makes ice cream? Welcome to the ice cream in a bag experiment — part dessert, part science class, and 100% fun. It’s a sweet blend of hands-on learning and cool refreshment, making it perfect for kids, families, and curious minds of all ages.
Why It Works
This experiment is a practical demonstration of freezing point depression. When you add rock salt to ice, it lowers the temperature at which the ice melts. This allows the ingredients in the small bag to freeze without the need for a freezer. Instead of waiting hours, you’ll have a scoopable treat in just 10 to 15 minutes.
You’ll actually feel the bag getting colder than regular ice, which is wild if it’s your first time. That’s the magic behind every successful ice cream experiment — chemistry doing its delicious thing. It’s one of those rare recipes that makes you feel like a scientist and a chef at the same time.
Great for Kids and Classrooms
- Explains states of matter (liquid to solid)
- Introduces basic chemistry principles
- Offers hands-on learning with tasty rewards
- Ideal for STEM activities or rainy-day fun
- No electricity needed — just a little muscle and curiosity
With a few zip-top bags, some half-and-half or milk, sugar, vanilla extract, and a bunch of ice, you’re ready to roll. This ice cream in a bag recipe isn’t just edible — it’s memorable.
Bonus Ideas
- Add food coloring to turn it into a rainbow science lab.
- Try it with alternative milks (like oat or almond) and sweeteners to see what changes.
- Swap in fruit puree for flavor experiments.
- Use the experiment to launch a discussion on how to make ice cream in a bag and how modern refrigeration compares.
Whether you’re teaching a class, entertaining your kids, or just looking to geek out in the kitchen, this ice cream in a bag experiment delivers. It’s more than just a treat — it’s a playful, educational moment you’ll want to repeat.
The Ice Cream in a Bag Experiment (Science Behind the Magic)
If you’ve ever wondered how something as simple as salt and ice can create frozen treats, the ice cream in a bag experiment offers a surprisingly scientific answer. It’s not just a fun activity — it’s a hands-on demonstration of chemistry and physics at work.
What’s Really Happening Inside the Bag?
At the heart of the experiment is a principle called freezing point depression. Normally, water freezes at 32°F (0°C). But when you add rock salt to ice, it lowers the freezing point of the ice. This means the ice melts, but in doing so, it absorbs heat from its surroundings — in this case, your cream mixture.
That’s why your ice cream mixture inside the smaller bag slowly thickens and turns into soft-serve style dessert. The more you shake, the more surface area is exposed, and the faster the mixture cools down.
Why It Works So Well
This method works better than just sticking cream in the freezer because it cools much faster and more evenly. Since the salt-ice mixture creates temperatures lower than the freezer itself, you get that signature creamy texture rather than icy chunks.
Plus, because you’re constantly shaking the bag, you’re aerating the mixture — just like what happens in an ice cream machine — giving you smoother results.
It’s More Than Just Dessert
Many educators love this ice cream experiment because it brings abstract science lessons to life. Kids can literally feel the cold transfer and see the transformation from liquid to solid. And adults? Well, let’s just say there’s something undeniably satisfying about making your own ice cream from scratch using nothing but two bags and a few ingredients.
For homeschoolers, summer camp leaders, and even science teachers, this experiment is a win-win. You get a teaching moment and a reward at the end.
Pro Tips for the Perfect Experiment
- Use high-fat cream for better texture and richness.
- Double-bag the inside to avoid salty leaks.
- Shake in short, fast bursts to speed up the process.
- Involve kids in timing and measuring for extra learning.
Whether you’re hosting a backyard birthday party or just want to sneak in a little STEM education at home, the ice cream in a bag experiment is one of the most fun — and tasty — activities you can try.
How to Make Ice Cream in a Bag Step by Step
Now that you know the science behind it, let’s walk through exactly how to make ice cream in a bag. This process is not only simple, it’s also a great activity for families, classrooms, or even solo sweet tooth sessions. You don’t need an ice cream maker or fancy equipment — just a few household ingredients and 15 minutes of your time.
Ingredients You’ll Need
To make ice cream in a bag, gather the following:
- 1 cup heavy cream or half-and-half
- 2 tablespoons granulated sugar
- ½ teaspoon pure vanilla extract
- Ice cubes (enough to fill a gallon-size bag halfway)
- ⅓ cup rock salt
- 1 pint-size zip-top plastic bag
- 1 gallon-size zip-top plastic bag
- Towel or oven mitts (for shaking)
You can also experiment with flavorings like cocoa powder, strawberry puree, or mint extract — but start simple for your first batch.
Step-by-Step Instructions
- Mix the base: In the pint-size bag, combine your cream, sugar, and vanilla. Seal it tightly, squeezing out any excess air.
- Add ice and salt: Fill the gallon-size bag halfway with ice cubes. Sprinkle the rock salt over the ice — this is key to lowering the temperature.
- Seal and shake: Place the smaller bag inside the larger one, seal the big bag tightly, then wrap the whole thing in a towel or wear gloves.
- Shake vigorously: Shake for 7–10 minutes. You’ll feel the inside bag become firm as the cream mixture freezes. It’s the core of the ice cream experiment.
- Check consistency: After shaking, open the big bag and carefully remove the inner bag. Wipe off any salty water before opening it.
- Scoop and serve: Enjoy immediately or place in the freezer for a firmer texture.
Tips for Success
- Don’t overfill your small bag — leave space for the cream to churn.
- Using rock salt (not table salt) is crucial. It melts the ice more slowly and maintains a lower temperature longer.
- Want to try strawberry ice cream in a bag? Replace vanilla with strawberry puree and reduce sugar slightly to balance sweetness.
Clean-Up Is a Breeze
The best part? No bowls, no mixers, and hardly any cleanup. Just toss the bags when you’re done or rinse them for reuse.
Whether you’re hosting a playdate or looking for a quick dessert with zero prep time, knowing how to make ice cream in a bag gives you instant dessert gratification — and a little science fun on the side.
Ice Cream in a Bag Experiment: Why It Works
The magic behind ice cream in a bag isn’t just fun — it’s science in action. This activity is a hands-on example of how salt affects freezing points, making it a popular pick for classrooms and kitchen enthusiasts alike. Let’s break it down and see why this method is more than just a dessert—it’s a full-on ice cream experiment.
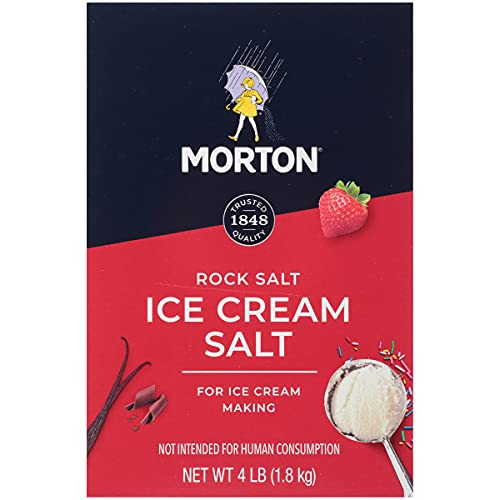
The Role of Rock Salt
When making rock salt ice cream, the salt doesn’t go in the actual cream mixture. Instead, it mixes with the ice outside the smaller bag. This lowers the freezing point of ice, causing it to melt. But as it melts, it pulls heat from its surroundings — in this case, the cream — freezing it quickly and evenly. That’s how you get that smooth, scoopable texture in your homemade ice cream in a bag.
Without salt, the ice alone wouldn’t get cold enough to turn the cream into ice cream. That’s why the ice cream in a bag experiment is used to teach thermodynamics. And let’s be real — what better way to understand science than by eating it afterward?
Learning Through Dessert
This isn’t just for kids. Adults love it too — especially when you experiment with:
- Flavoring add-ins like chocolate chips, fruit puree, or crushed cookies
- Alternative bases like almond milk or coconut milk
- Sweetener swaps like honey or agave for a healthier twist
Each variation teaches a new principle: fat content affects texture, sugar impacts freezing, and mix-ins show how solids affect distribution.
Perfect for Group Activities
Doing the ice cream in a bag experiment with others adds an extra layer of fun. It’s perfect for:
- Science class demonstrations
- Family bonding time
- Birthday parties or summer camps
- Rainy-day boredom busters
Just set up a few stations, lay out your ingredients, and watch how engaged everyone gets when their own hard work turns into a sweet, chilly treat.
Flavor Variations for Ice Cream in a Bag
Now that you know how to make ice cream in a bag, it’s time to get creative with your flavors. One of the best things about this DIY method is how customizable it is. With a simple base of cream, sugar, and vanilla, you can build almost any flavor your heart desires — all while continuing your ice cream in a bag experiment journey.
Classic Vanilla & Chocolate
If it’s your first time trying ice cream in a bag, start with the basics. Add a dash of vanilla extract for a creamy classic, or mix in cocoa powder and mini chocolate chips for a homemade chocolate version. Both flavors freeze beautifully using the rock salt ice cream technique.
This combo is a crowd-pleaser and the best way to test your technique.
Vanilla might be simple, but it’s timeless — especially when made from scratch.
Fruity Fun
- Crushed strawberries or blueberries
- Swirls of mango or banana purée
- A splash of citrus zest (lemon or orange)
These fruity variations not only taste great but add a splash of color and texture — making your ice cream experiment feel like a gourmet adventure.
Use fresh or frozen fruit depending on the season — both work beautifully.
Pro tip: Let kids choose their own mix-ins for a personalized twist.
Cookie & Candy Mix-Ins
Try folding in:
- Crushed Oreos
- Mini M&M’s
- Toffee bits or marshmallow chunks
Just add them once your mixture starts thickening inside the bag. Too early and they might sink or dissolve; too late and they won’t mix well.
Want a party-friendly version? Let each guest create their own custom bag!
Sweet mix-ins add crunch, color, and surprise in every spoonful.
Dairy-Free Options
Want to take your ice cream in a bag experiment to the next level? Swap out heavy cream for:
- Coconut milk
- Almond milk
- Oat milk
Be sure to adjust the sweetener and salt levels to match the fat content of your alternative base. It might take a few tries to perfect, but that’s the beauty of experimentation.
This is where ice cream experiments become a learning moment.
Coconut milk adds richness and a tropical flair that’s irresistible.
Sweeteners & Extras
Beyond white sugar, you can try:
- Honey (for smoother sweetness)
- Maple syrup
- Agave nectar
Each sweetener affects the freezing process differently, making it a tasty way to explore the science behind rock salt ice cream.
Tip: Keep notes on what you try — every batch is a chance to improve.
A pinch of sea salt can amplify sweetness and balance flavors.
The Science Behind the Freeze: How It All Works
Ever wonder why this whole ice cream in a bag experiment even works? It’s more than just magic — there’s real science at play. When you add rock salt to ice, it lowers the freezing point of water. That means the ice gets even colder without turning into a solid block, which in turn chills your bag of ingredients enough to transform liquid into creamy ice cream in a bag.
This is the moment the experiment gets fun — and educational.
The colder the environment, the quicker your mixture freezes into smooth perfection.
Parents and teachers love this as a hands-on science activity that actually tastes good.
You’re essentially creating a mini cold chamber using ingredients you probably already have at home. That’s why this method is perfect for classrooms, birthday parties, or rainy-day boredom busters. It’s fast, mess-free, and no fancy machine required.
By using rock salt ice cream methods, you mimic old-fashioned churn techniques in a zip-top bag.
Constant movement — whether shaking or rolling — keeps the texture light and even.
Great for group activities with kids (or nostalgic adults).
Want to take things further? Try measuring the temperature before and after adding the salt. You’ll see how the freezing point drops dramatically. This is why how to make ice cream in a bag isn’t just a fun kitchen hack — it’s a mini science lab.
Turn snack time into STEM time with just 10 minutes of prep.
Curious minds will love watching the transformation happen in real time.
You can even log the results of each batch for a cool science fair idea.
Bottom line? This entire ice cream experiment is a hands-on, delicious way to show how salt and temperature affect matter. And your reward? A creamy scoop of sweet success.
Common Mistakes to Avoid When Making Ice Cream in a Bag
You followed the recipe, gave it a good shake… and still ended up with soupy disappointment instead of creamy deliciousness? Don’t worry — even the coolest ice cream in a bag experiment can go sideways if you miss a few key steps. Let’s fix that.
Mistake #1: Not Using Enough Rock Salt
Rock salt ice cream methods rely on chemistry. If you skimp on the salt, the ice won’t get cold enough to freeze the mix. You need about 1/3 cup per layer of ice. Trust the science!
Mistake #2: Overfilling the Inner Bag
Too much liquid? You’ll end up with a milkshake, not ice cream. Stick to half a cup to three-quarters max inside the sealed bag.
Mistake #3: Not Sealing Bags Properly
If water leaks in — or creamy mix leaks out — it’s game over. Double-bagging the mixture is a pro tip worth following.
Mistake #4: Not Shaking It Long Enough
It takes at least 8 to 10 minutes of constant motion to turn that mix into true ice cream in a bag. Quit early, and you’ll have sweet soup.
Mistake #5: Skipping Gloves or a Towel
Holding the cold bag with bare hands? Ouch. Wrap it in a towel or wear gloves to keep the fun going without freezing your fingers.
Mistake #6: Using the Wrong Salt
Don’t use table salt — it doesn’t chill the ice enough. Stick to rock salt or coarse sea salt for the real deal.
Mistake #7: Not Being Precise
This is still an ice cream experiment, and like all science, precision matters. Measure everything — salt, ice, cream, and flavorings — for consistent results.
Whether you’re doing this for fun, learning, or tasty results, following these tips helps ensure your ice cream in a bag turns out perfectly creamy every time.
FAQ About Ice Cream in a Bag
How does the ice cream in a bag experiment work?
Great question! The ice cream in a bag experiment works through a simple chemical reaction. Adding rock salt to the ice lowers its freezing point, creating a super cold environment that freezes the ice cream mixture. When you shake it, you’re evenly distributing the cold to turn the liquid into a frozen treat.
Can I use any salt for this?
Not quite. While any salt may seem like it’ll work, rock salt is ideal because of its size and purity. Table salt doesn’t create the same freezing effect and may cause uneven results.
Can I use frozen fruit for flavor?
Absolutely. Many people love using strawberry puree or mashed frozen bananas to flavor their ice cream. Just make sure the fruit is fully blended so it mixes evenly in the bag.
Is ice cream in a bag safe for kids to make?
Yes! That’s what makes the ice cream in a bag experiment so popular. It’s hands-on, educational, and fun. Just supervise when working with rock salt and ice to prevent skin irritation.
Can I add mix-ins like chocolate chips?
Yes, but wait until the ice cream is semi-solid before mixing them in. This way, they don’t sink to the bottom during shaking.
How long does it take to make ice cream in a bag?
Usually 8 to 10 minutes of solid shaking. It depends on how cold your ice is, how much salt you’ve used, and how vigorously you shake the bag.
What’s the texture like?
It’s creamy and soft — closer to soft serve than store-bought tubs. It’s perfect for immediate eating. If you prefer a firmer consistency, freeze it for another 15–20 minutes after shaking.
Why didn’t my ice cream freeze?
Either you didn’t add enough rock salt, or your shaking time was too short. Make sure you follow the method closely — it’s a science experiment, after all!
Final Thoughts
Making ice cream in a bag is more than just a sweet treat — it’s a hands-on science experiment, a creative project, and a delicious reward all in one. Whether you’re doing it with kids, at a summer party, or just craving a homemade frozen dessert, this method brings the magic of ice cream making right into your hands.
👉 You Might Also Like on GrowVibe:
- How to Make Strawberry Puree Like a Pro – Add a fresh fruit twist to your ice cream
- Fruit Dip Guide – Another no-bake, summer-perfect snack
- Cake Mix Cookies Recipes – Easy treats to pair with your frozen creation
🛒 Amazon Picks to Make It Easier:
- Ziploc Freezer Bags (Gallon Size) – Strong and leak-proof, perfect for shaking without spills
- Rock Salt for Ice Cream Makers – Get consistent results with the right salt
- Mini Silicone Ice Cream Cups – Fun, reusable cups for serving your DIY dessert
Enjoy your next batch of homemade ice cream — one shake at a time.